My Step-by-step Checklist for Effective Home Recycling.
My Step-by-step Checklist for Effective Home Recycling
In a world increasingly aware of its environmental footprint, effective home recycling isn’t just a chore – it’s a powerful personal commitment. But let’s be honest, transforming good intentions into a seamless, efficient system can feel a bit overwhelming. That’s why I’ve distilled my own journey into a practical, step-by-step checklist designed to demystify the process and elevate your home recycling efforts from good to truly great. This isn’t about rigid rules, but about building habits that make a real difference, starting right where you live.
My goal with this guide is to empower you to not only sort your waste correctly but to understand the ‘why’ behind each action, ensuring fewer items end up in landfills unnecessarily. From deciphering confusing labels to setting up an intuitive recycling hub, we’ll walk through each stage, making your home a beacon of responsible consumption. Let’s dive into my personal checklist for making home recycling genuinely effective.
Laying the Groundwork: My Initial Prep for a Seamless Recycling Flow
Before any item even approaches a recycling bin, the most crucial steps happen behind the scenes. This foundational stage is all about understanding your local landscape and setting up a system that’s intuitive and sustainable for your household. Skipping these initial steps often leads to confusion and, ultimately, ineffective recycling.
1. Deciphering My Local Recycling Rules and Guidelines
This is arguably the most vital step. Recycling guidelines vary wildly from one municipality to another. What’s accepted in one town might be considered a contaminant in the next. I always start by visiting my city or county’s waste management website or calling their hotline. I look for specific lists of accepted materials (plastics by number, types of paper, glass colors, etc.), and equally important, what’s explicitly not accepted.
- Check for plastic numbers: Not all plastics are recyclable everywhere. Identify which resin identification codes (the numbers inside the recycling triangle) your local facility accepts.
- Understand paper specifics: Is shredded paper accepted? What about greasy pizza boxes or milk cartons?
- Glass and metal rules: Are caps and labels okay? Do items need to be completely clean?
- Special collections: Note if there are separate collections for electronics, batteries, or hazardous waste.
Staying informed helps prevent “wishcycling” – the act of putting non-recyclable items into the bin hoping they’ll be recycled, which actually contaminates entire batches.
2. Designating My Home Recycling Hub and Collection Points
An effective system needs a designated space. I’ve found that placing recycling bins in convenient, high-traffic areas makes it much easier to sort items as they’re used, rather than accumulating a pile to deal with later. This could be a corner in the kitchen, a utility closet, or even a section of the garage.

- Kitchen convenience: This is where most recyclables originate. I use small, clearly labeled bins for common items like plastic, glass, and cans right near the regular trash.
- Paper near the office/mail: A separate bin for paper waste where mail is opened or homework is done prevents paper from mixing with other waste.
- Bathroom/Bedroom mini-bins: Small containers for things like empty shampoo bottles or tissue boxes encourage recycling throughout the house.
3. Equipping My Home with the Right Recycling Tools
Having the correct containers is essential. It’s not just about any bin; it’s about bins that facilitate easy sorting and storage until collection day.
- Multi-compartment bins: These are fantastic for tight spaces, allowing you to separate different materials within a single unit.
- Clearly labeled containers: Labels are non-negotiable! I use durable, easy-to-read labels for “Plastics,” “Paper,” “Glass,” “Cans,” and “Compost” to avoid confusion for everyone in the household.
- A rinse station: A dedicated spot near a sink for quickly rinsing food containers before they go into the bin prevents odors and contamination.
- A shredder (if applicable): For sensitive documents, a shredder is key, but remember to check if your local facility accepts shredded paper (it often needs to be bagged).
Mastering the Sort: My Daily Rituals for Spotless Separation
With the groundwork laid, the next phase focuses on the day-to-day actions that ensure your recycling efforts are truly effective. This is where vigilance and consistency pay off, turning what might feel like a chore into a seamless part of your daily routine.
4. Practicing the “Clean and Dry” Rule Rigorously
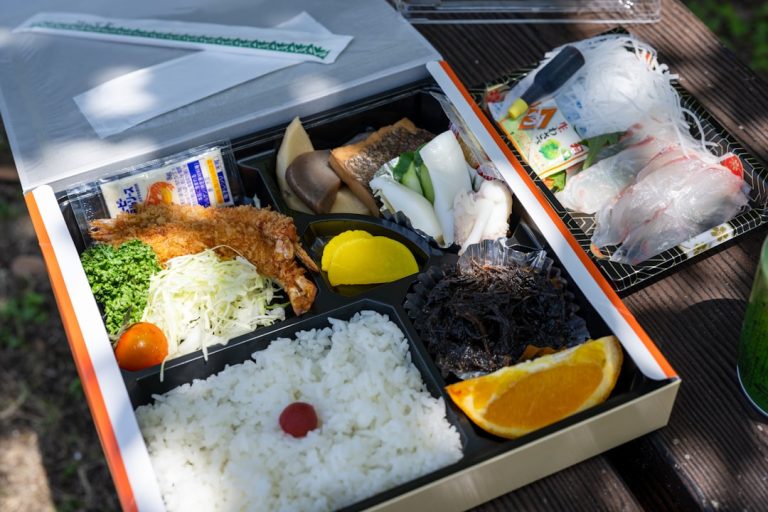
Contamination is the nemesis of effective recycling. Food residue, liquids, and grease can render entire batches of otherwise recyclable materials unusable. This step is critical for plastics, glass, and metal containers.
- Rinse thoroughly: A quick rinse with water is usually sufficient for most food containers. No need for a spotless clean, just remove obvious residue.
- Remove food waste: Scrape out all food from jars, cans, and plastic containers.
- Dry completely: Moisture can cause paper and cardboard to degrade, making them difficult to recycle. I air-dry items or give them a quick wipe before placing them in the bin.
Remember, a little effort here prevents your good intentions from going to waste at the recycling facility.
5. Separating Materials with Precision (No “Wishcycling”!)
This is where those clearly labeled bins come into play. Every item needs to go into its correct category based on your local guidelines. My rule of thumb is: if I’m unsure, I check. If I still can’t confirm, it goes into the regular trash to avoid contaminating the recycling stream.
- Plastic bottles and jugs: Check the number. Often,