How I Make My Own Reusable Shopping Bags From Old Fabric.
How I Make My Own Reusable Shopping Bags From Old Fabric
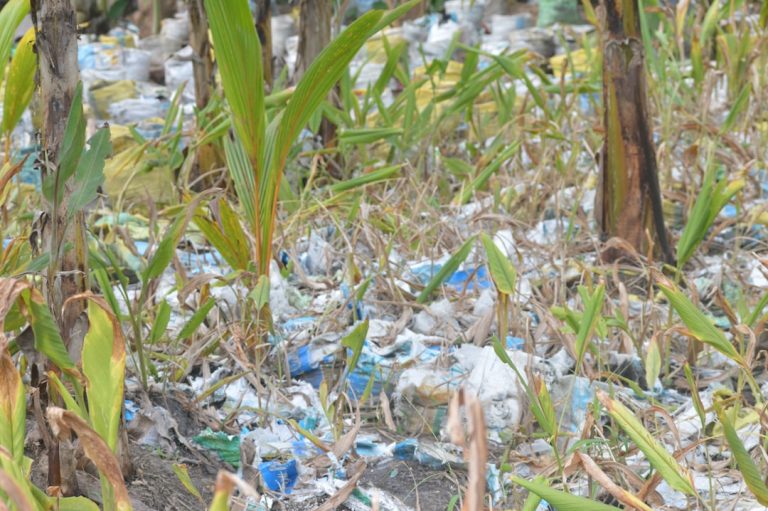
For years, I found myself in the same frustrating cycle: forgetting my reusable bags, reluctantly buying new plastic ones, and then feeling a pang of guilt as they accumulated under my sink. It wasn’t just the clutter; it was the environmental impact that truly bothered me. I wanted a sustainable solution, something practical and personal. That’s when I looked at my overflowing pile of old clothes and fabric scraps with new eyes. Could I transform them into something genuinely useful? The answer, I discovered, was a resounding yes! This journey has not only reduced my reliance on single-use plastics but has also become a deeply satisfying creative outlet. I’m excited to share my personal process for making durable, unique reusable shopping bags from fabric that would otherwise go to waste.
My Journey from Plastic Bags to Upcycled Creations
My motivation to start making my own reusable bags wasn’t just a sudden whim; it was a gradual realization of how much textile waste I was personally generating. Every worn-out pair of jeans, every faded bedsheet, every outgrown T-shirt seemed destined for landfill. I’d seen countless tutorials for basic tote bags, but I wanted something more robust, something that could withstand heavy groceries and repeated washes. My goal was to create bags that were not only functional but also reflected my personal style and commitment to sustainable living. This shift in mindset, from seeing “waste” to seeing “potential,” was the true starting point of my bag-making adventure.
What began as a simple desire to be more eco-friendly quickly evolved into a passion for upcycling old clothes. There’s an immense satisfaction in taking something destined for the bin and giving it a new, purposeful life. It’s a small act, but one that contributes to a larger movement of reducing textile waste and embracing a circular economy. Plus, there’s the added bonus of having a truly unique bag that no one else has – a real conversation starter at the checkout!
The Fabric Hunt: Discovering Treasure in Old Textiles
The beauty of making your own reusable bags lies in the freedom of material choice. For me, the “old fabric” isn’t just any scrap; it’s a carefully selected treasure. I primarily look for materials that are sturdy, washable, and have a bit of character. Here’s what I typically raid from my own home or local thrift stores:
Which Old Fabrics Work Best for My Bags?
- Denim: Old jeans are a goldmine! Denim is incredibly durable, handles heavy loads well, and gets softer with age. I love the texture and the various shades of blue.
- Canvas or Twill: Old canvas drop cloths, sturdy curtains, or even old work uniforms made from twill are fantastic. They offer excellent strength and hold their shape beautifully.
- Linen or Heavy Cotton: Faded linen tablecloths, sturdy cotton bedsheets, or thick cotton shirts can be repurposed. While not as heavy-duty as denim, they make lovely, breathable bags perfect for lighter shopping trips or produce.
- Upholstery Fabric Scraps: If you have any leftover pieces from furniture projects, these are often very robust and come in interesting patterns.
I avoid anything too stretchy or flimsy, like old t-shirt jersey, unless I plan to reinforce it significantly. The key is to think about the bag’s purpose: will it carry heavy groceries or just a few small items? This helps guide my fabric selection. Before cutting, I always make sure the fabric is clean and ironed. This step is crucial for accurate cutting and a professional finish.
Stitch by Stitch: My Tried-and-True Bag-Making Method
My bag-making process is designed to be straightforward yet yield a strong, long-lasting product. While I use a sewing machine for efficiency and strength, many steps can be adapted for hand sewing if you have patience and a sturdy needle. I’ve refined this method over time to create a reliable and repeatable pattern.

Preparing My Fabric and Cutting the Pieces
- Measure and Mark: I typically aim for a finished bag size of about 16 inches wide by 18 inches tall, with a 4-6 inch boxed bottom. This size is versatile for most shopping needs. I cut two main body pieces (e.g., 18×22 inches for a 16×18 bag with seam allowance and top hem) and two handle pieces (e.g., 3×24 inches). For the boxed bottom, I cut a square from each bottom corner of the main body pieces.
- Cutting Accurately: Using a rotary cutter and a mat, or sharp fabric scissors, I cut out all my pieces. Precision here saves a lot of headaches later!
Assembling the Bag Body: Seaming for Strength
- Side Seams: I place the two main body pieces right sides together and stitch down both long sides, using a ½ inch seam allowance. I always backstitch at the beginning and end for extra security.
- Bottom Seam: Next, I stitch the bottom seam, also with a ½ inch seam allowance.
- Creating the Boxed Corners: This is what gives the bag its depth and allows it to stand up. I open up the bottom corners, aligning the side seam with the bottom seam. This creates a triangle. I then stitch across the triangle, 2-3 inches from the point (depending on desired depth), to form the box. I repeat for the other corner. For extra durability, I often double-stitch these corners.
Crafting and Attaching the Handles: The Key to Comfort and Durability
The handles are crucial. They need to be comfortable to carry and strong enough to bear weight. I prefer wide, reinforced handles.
- Handle Construction: For each handle, I fold the long edges of my 3×24 inch fabric strip towards the center, press them flat, and then fold the strip in half lengthwise. This creates a sturdy 1-inch wide strap. I topstitch along both long edges of the handle for a neat finish and added strength.
- Attaching the Handles: I hem the top edge of the main bag body first. I fold the top edge down by ½ inch, press, and then fold it down again by 1.5 inches, pressing firmly. Before stitching this hem, I position my handles. I place each handle end about 4-5 inches in from the side seams, tucking them securely under the second fold of the hem. I ensure the handles are not twisted.
- Reinforcing the Handles: I stitch the hem down, making sure to catch the handle ends firmly. Then, I go back and stitch a square or an “X” shape over each handle attachment point. This reinforcement is vital for preventing handles from tearing off when the bag is full.
Beyond the Seams: Reinforcing and Personalizing Your Upcycled Bags
Making a basic bag is one thing; making a bag that truly lasts and reflects your personality is another. I’ve picked up several tricks to ensure my bags are not just functional but also a joy to use and behold.
My Secrets for Extra Strength and Longevity
- French Seams or Zigzag Edges: To prevent fraying, especially with fabrics prone to it, I often use French seams for the interior. This encases the raw edges, making the bag incredibly durable and neat on the inside. Alternatively, a simple zigzag stitch along the raw edges before joining them also works wonders.
- Double Stitching: For all weight-bearing seams—the side seams, bottom seam, and especially the handle attachments—I always double stitch. This means sewing over the same line of stitching twice. It’s a small extra step that makes a huge difference in the bag’s lifespan.
- Interfacing for Handles: If I’m using a